Passkey Authentication in Laravel 13: Setup, HTTPS Requirements, and a Sane Rollout Plan
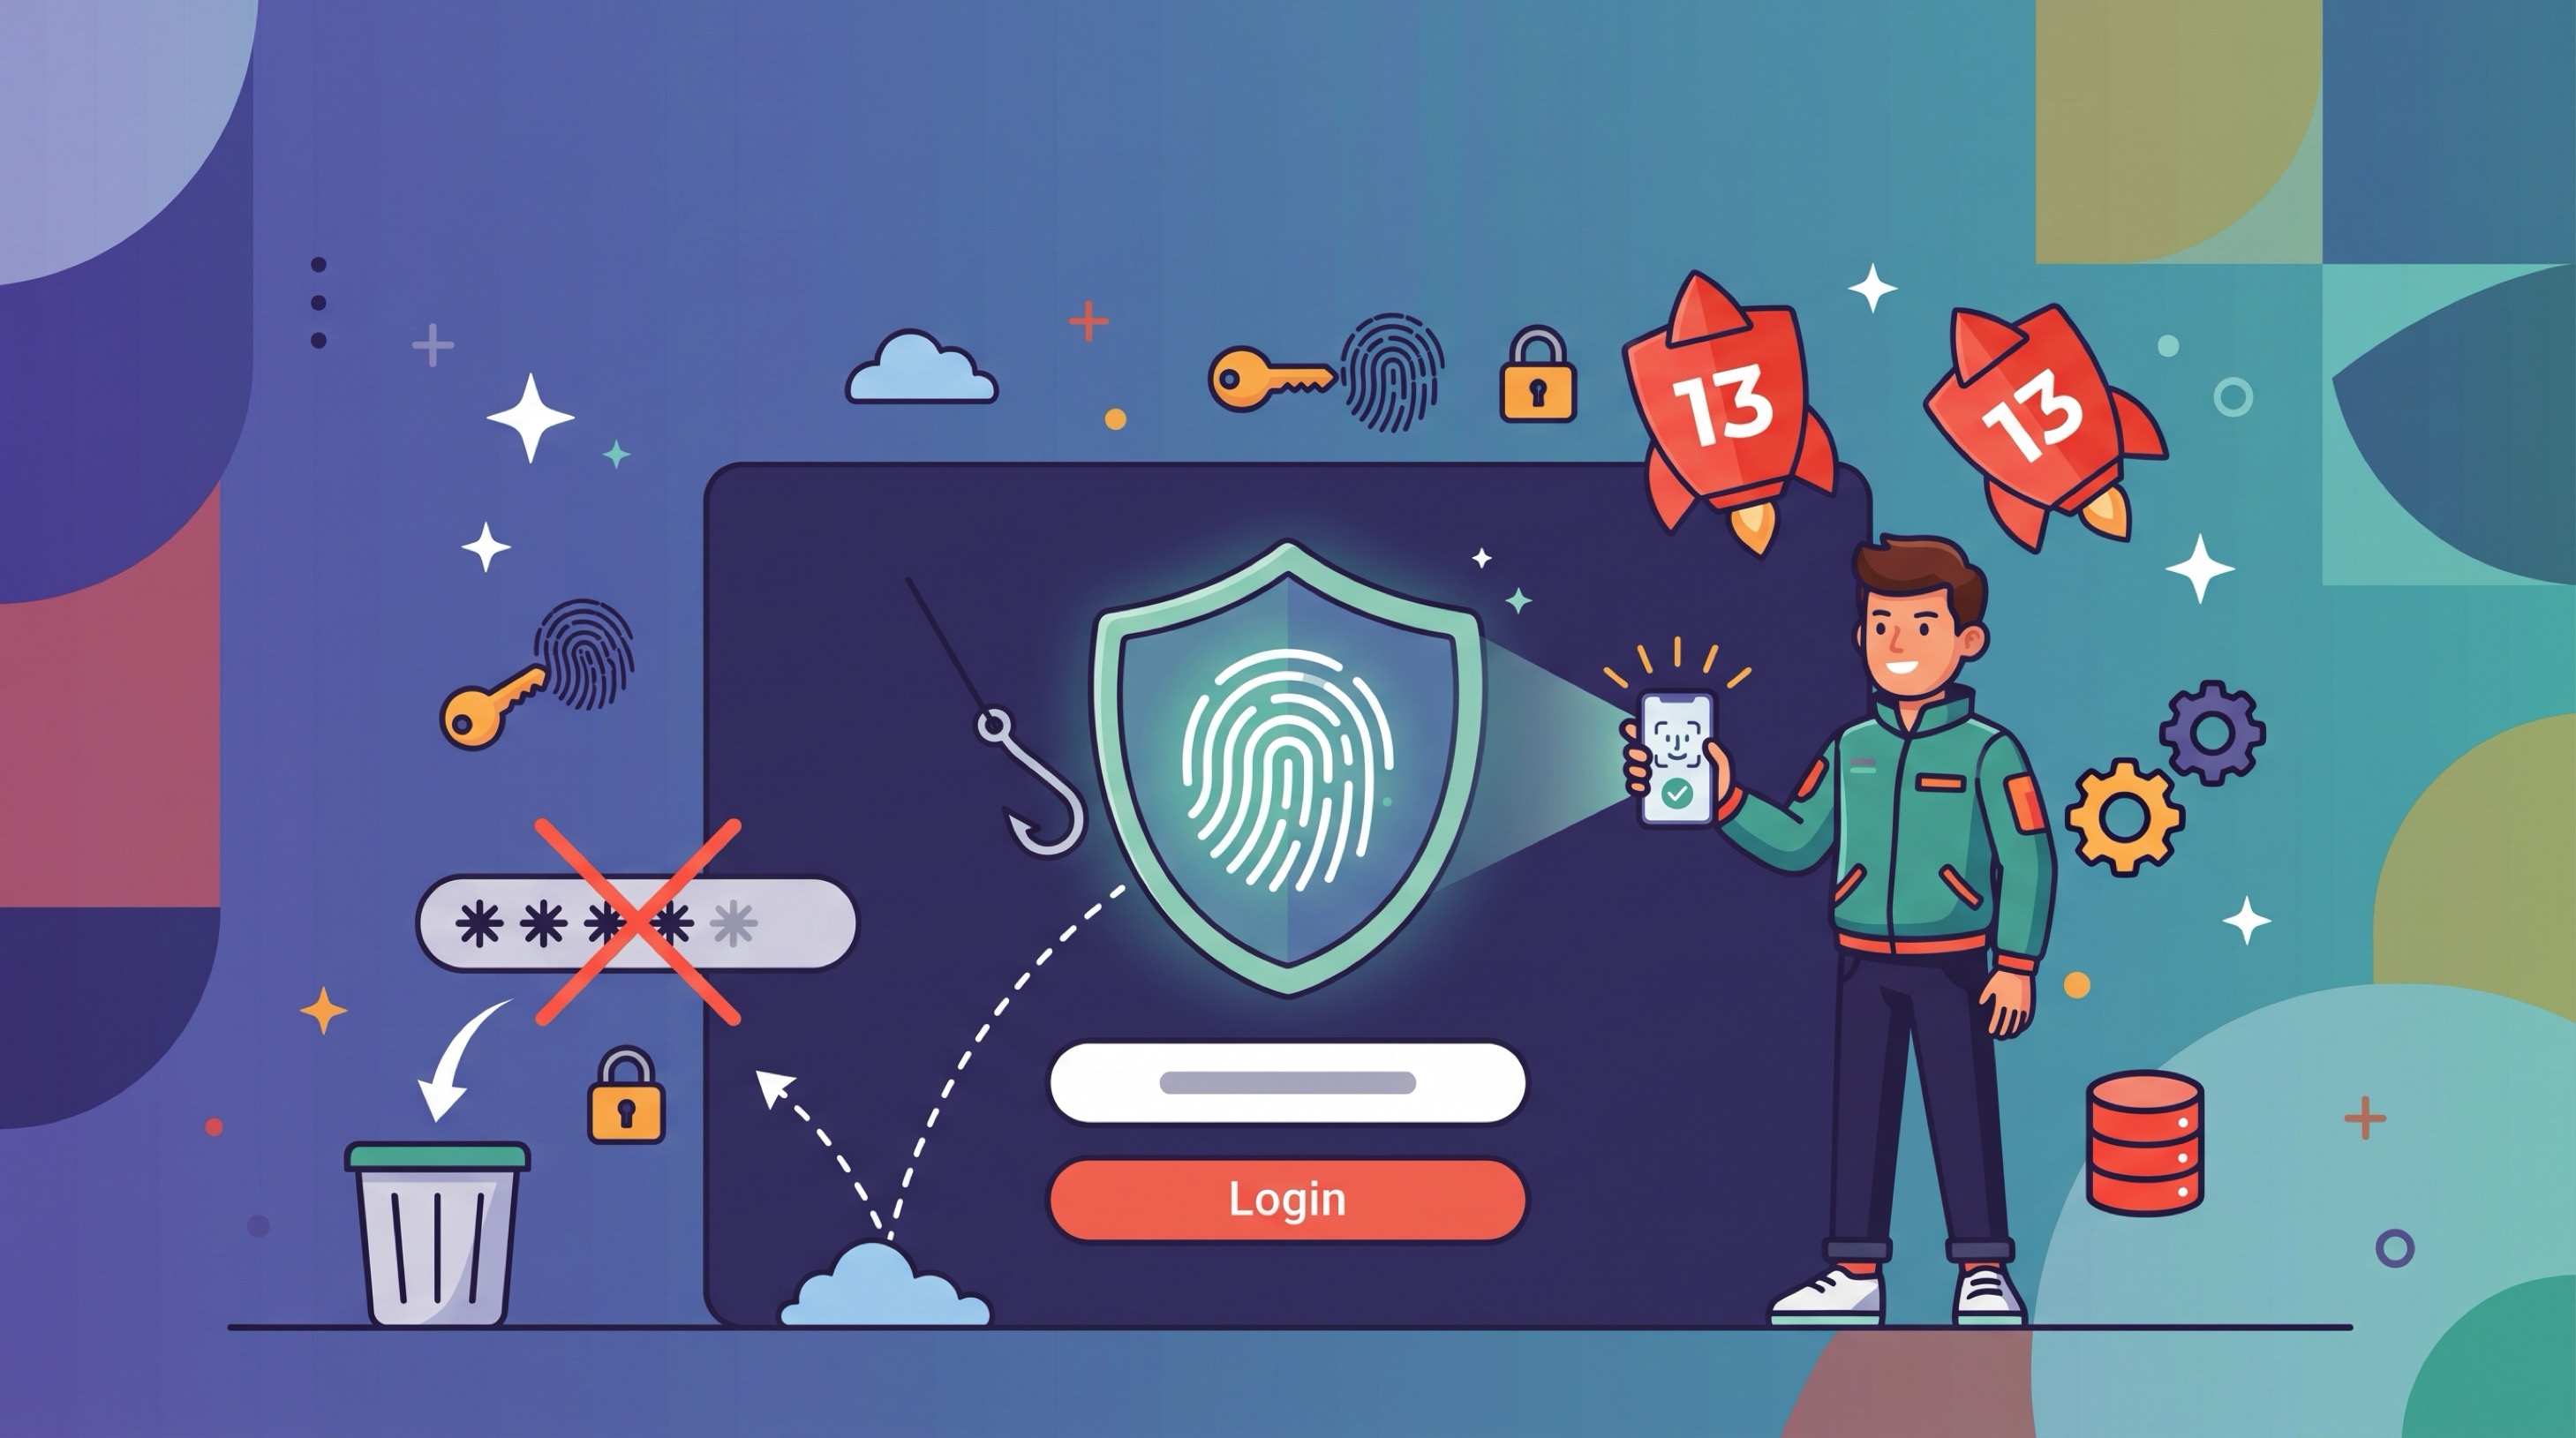
Right now, somewhere, a botnet is replaying leaked email and password pairs against a Laravel login form. Not because anyone targeted that app specifically, but because credential stuffing is cheap, automated, and it works. Verizon's Data Breach Investigations Report has said the same thing for years: stolen credentials remain one of the most common ways attackers get in, showing up in roughly a third of breaches (Verizon DBIR). Your users reuse passwords. Some of those passwords are already in a dump somewhere. That's the baseline reality every login form inherits.
Rate limiting helps. TOTP helps more. But both are mitigations layered on top of the same structural flaw: a shared secret that your server stores, your user remembers, and any phishing page can ask for. Passkeys remove the shared secret entirely, which is why they're the first authentication upgrade in a long time that changes the math instead of just raising the cost.
Laravel 13, released March 17, 2026, ships first-party passkey authentication support, so the integration excuse is gone (Laravel News, PHP Everyday). What's left is the operational half: relying party ID decisions you can't undo, the HTTPS requirement that follows you into staging, testing without a fingerprint reader on your CI runner, and an account recovery story that's honestly harder than the code. We run Laravel infrastructure for a living, so this post covers both halves. The code first, then the parts that actually determine whether your rollout goes well.
Why Are Passkeys Worth Adopting Now?
Passkeys are phishing-resistant, immune to credential stuffing, and now supported natively in Laravel 13. The FIDO Alliance reported that over 15 billion online accounts could use passkeys by 2025 (FIDO Alliance), and every major platform ships an authenticator. The ecosystem argument that justified waiting no longer holds.
The security properties come from the architecture, not from policy. A passkey is a public-private key pair. Your server stores only the public key. The private key never leaves the user's authenticator, whether that's Face ID on an iPhone, Windows Hello on a laptop, or a hardware key like a YubiKey. When your database gets dumped, the attacker gets a pile of public keys that are useless for logging in anywhere, including your own app.
Phishing resistance is the part that surprises people. A passkey is cryptographically bound to the domain it was registered on. If a user lands on deplyonix-login.example instead of your real domain, their browser simply won't offer the passkey. There's no "user was tired and typed their password into the wrong site" failure mode, because there's nothing to type. This isn't vendor marketing; it's how the W3C WebAuthn specification defines credential scoping (W3C WebAuthn Level 2).
And credential stuffing? There's nothing to stuff. No secret exists in more than one place, so a breach at some unrelated site can't be replayed against yours. For anyone who has watched fail2ban logs scroll past at 3 a.m., that alone justifies the project.
The remaining question was always developer effort. Before Laravel 13, you were wiring up a third-party WebAuthn package, hand-rolling the ceremony endpoints, and hoping you got attestation validation right. Now the framework handles the ceremonies, and if you're planning the framework upgrade anyway, our guide to upgrading to Laravel 13 in production with zero downtime covers that path. In our experience the upgrade and the passkey rollout are best treated as two separate deploys, for reasons we'll get to in the rollout section.
How Does WebAuthn Actually Work?
Strip away the acronyms and WebAuthn is a challenge-response protocol built on public-key cryptography, standardized by the W3C (W3C WebAuthn Level 2). The server issues a random challenge. The authenticator signs it with a private key it never reveals. The server verifies the signature with the public key it stored at registration. That's the whole trick. Everything else is packaging.
Two ceremonies matter: registration (creating a credential) and authentication (using it).
The Registration Ceremony
When a user adds a passkey, your server generates a challenge plus some metadata: your app's name, the relying party ID (more on that shortly), and the user's identifier. The browser hands this to the platform authenticator, which asks the user to confirm with a biometric or PIN. The authenticator then mints a brand-new key pair scoped to your domain, signs the challenge, and returns the public key and a credential ID. Your server verifies the response and stores both.
One detail worth internalizing: a new key pair is created per site, per user. There's no master key that opens everything. The passkey for your app is mathematically unrelated to the passkey for the user's bank.
The Authentication Ceremony
Login runs the same dance in reverse. The server sends a fresh challenge. The browser finds credentials matching your relying party ID, the user confirms with Face ID, Windows Hello, or a hardware key tap, and the authenticator signs the challenge with the stored private key. Your server looks up the public key by credential ID, verifies the signature, checks the challenge matches the one it issued, and logs the user in.
Because the challenge is random and single-use, replay attacks fail. Because the signature is bound to the origin, phishing pages fail. Because verification uses only a public key, database leaks fail. It's a short list of failure modes, and that's the point.
Where Do Synced Passkeys Fit In?
Platform passkeys sync through the vendor's credential manager: iCloud Keychain on Apple devices, Google Password Manager on Android and Chrome. That's how a passkey created on a phone works on the same user's laptop. Syncing is what made passkeys consumer-viable, and it's also the piece that makes some security teams pause, because the platform account becomes part of your trust chain. We'll come back to that trade-off honestly in the considerations section.
Passwords vs TOTP vs Passkeys: How Do They Compare?
No comparison table settles an architecture decision by itself, but this one clarifies what each factor actually defends against.
Property | Passwords | TOTP (authenticator apps) | Passkeys |
|---|---|---|---|
Secret stored on server | Yes (hashed) | Yes (shared seed) | No (public key only) |
Phishing resistant | No | No (codes can be relayed in real time) | Yes (bound to domain) |
Credential stuffing resistant | No | Partially (second factor required) | Yes (nothing to stuff) |
Works offline on user side | Yes | Yes | Yes |
Login friction | Medium (typing, resets) | High (open app, copy code) | Low (one biometric prompt) |
Recovery difficulty | Low (email reset) | Medium (backup codes) | High (needs deliberate design) |
Server-side breach impact | High if hashes crack | High (seeds are symmetric) | Minimal |
Passwords
Strengths: Universal. Every user, browser, device, and support workflow understands them. Recovery via email reset is a solved problem, and no platform dependency exists.
Best for: The fallback layer during a passkey transition, and users on locked-down or shared devices where authenticators aren't available.
Considerations: Reuse and phishing are unfixable at the protocol level. Everything you bolt on (complexity rules, breach-list checks, rate limiting) is compensation for the core design.
TOTP
Strengths: Big security lift over passwords alone, well understood, works without connectivity, cheap to implement.
Best for: A second factor where passkeys aren't viable yet, and compliance regimes that explicitly name OTP.
Considerations: The seed is a shared secret sitting in your database, and modern phishing kits proxy TOTP codes in real time. Adversary-in-the-middle toolkits treat TOTP as a speed bump, not a wall.
Passkeys
Strengths: Phishing-resistant by construction, immune to stuffing and database-dump replay, and genuinely faster to use than a password plus a code.
Best for: Primary authentication for consumer and SaaS apps on a stable production domain, and any team tired of password-reset support tickets.
Considerations: Recovery must be designed, not assumed. The relying party ID welds credentials to your domain. Enterprise users on managed devices may not be able to enroll at all.
How Do You Set Up Passkeys in Laravel 13?
The walkthrough below assumes Laravel 13 on PHP 8.5, which is the stack Deploynix provisions by default on Ubuntu 24.04. The first-party support gives you the ceremony plumbing; you own the routes, the UI, and the policy decisions.
Configuration
The relying party settings live in config. Set them deliberately, because the id value is the one you can't casually change later:
// config/passkeys.php

return [
    'relying_party' => [
        // Must be your production registrable domain, or a suffix of it.
        'id' => env('PASSKEYS_RP_ID', parse_url(config('app.url'), PHP_URL_HOST)),
        'name' => config('app.name'),
    ],

    // How long the browser waits for the user to complete the ceremony.
    'timeout' => 60_000,

    // Require user verification (biometric or PIN), not just presence.
    'user_verification' => 'required',
];
Keep PASSKEYS_RP_ID in your environment configuration per environment, so staging registers credentials against the staging domain and production against the real one. Never read env() outside config files; use config('passkeys.relying_party.id') everywhere else.
Storing Credentials
A user has many passkeys, and you want them to. One per device family is the healthy pattern:
// database/migrations/2026_08_02_000000_create_passkeys_table.php

public function up(): void
{
    Schema::create('passkeys', function (Blueprint $table) {
        $table->id();
        $table->foreignId('user_id')->constrained()->cascadeOnDelete();
        $table->string('name'); // "MacBook Touch ID", "YubiKey 5C"
        $table->string('credential_id')->unique();
        $table->text('public_key');
        $table->unsignedBigInteger('sign_count')->default(0);
        $table->json('transports')->nullable();
        $table->timestamp('last_used_at')->nullable();
        $table->timestamps();
    });
}
The model is deliberately boring:
// app/Models/Passkey.php

namespace App\Models;

use Illuminate\Database\Eloquent\Factories\HasFactory;
use Illuminate\Database\Eloquent\Model;
use Illuminate\Database\Eloquent\Relations\BelongsTo;

class Passkey extends Model
{
    use HasFactory;

    protected $fillable = [
        'name', 'credential_id', 'public_key', 'sign_count', 'transports',
    ];

    protected function casts(): array
    {
        return [
            'transports' => 'array',
            'last_used_at' => 'datetime',
        ];
    }

    public function user(): BelongsTo
    {
        return $this->belongsTo(User::class);
    }
}
The Registration Endpoints
Registration is a two-step round trip: fetch options, then verify the browser's response.
// app/Http/Controllers/PasskeyController.php

namespace App\Http\Controllers;

use App\Http\Requests\StorePasskeyRequest;
use App\Models\Passkey;
use Illuminate\Http\JsonResponse;
use Illuminate\Http\Request;
use Illuminate\Support\Facades\Passkeys;

class PasskeyController extends Controller
{
    public function registrationOptions(Request $request): JsonResponse
    {
        $options = Passkeys::registrationOptions($request->user());

        $request->session()->put('passkey_registration_challenge', $options->challenge());

        return response()->json($options);
    }

    public function store(StorePasskeyRequest $request): JsonResponse
    {
        $verified = Passkeys::verifyRegistration(
            user: $request->user(),
            credential: $request->validated('credential'),
            challenge: $request->session()->pull('passkey_registration_challenge'),
        );

        $request->user()->passkeys()->create([
            'name' => $request->validated('name'),
            'credential_id' => $verified->credentialId(),
            'public_key' => $verified->publicKey(),
            'transports' => $verified->transports(),
        ]);

        return response()->json(['registered' => true]);
    }
}
On the front end, the browser API does the heavy lifting:
// resources/js/passkeys.js

async function registerPasskey(name) {
    const options = await fetch('/passkeys/register/options', {
        method: 'POST',
        headers: { 'X-CSRF-TOKEN': csrfToken() },
    }).then((r) => r.json());

    const credential = await navigator.credentials.create({
        publicKey: parseCreationOptions(options),
    });

    await fetch('/passkeys/register', {
        method: 'POST',
        headers: {
            'Content-Type': 'application/json',
            'X-CSRF-TOKEN': csrfToken(),
        },
        body: JSON.stringify({ name, credential: serialize(credential) }),
    });
}
The Authentication Endpoints
Login mirrors registration: issue a challenge, verify the assertion, then authenticate the session.
public function authenticationOptions(Request $request): JsonResponse
{
    $options = Passkeys::authenticationOptions();

    $request->session()->put('passkey_auth_challenge', $options->challenge());

    return response()->json($options);
}

public function authenticate(Request $request): JsonResponse
{
    $passkey = Passkeys::verifyAuthentication(
        credential: $request->input('credential'),
        challenge: $request->session()->pull('passkey_auth_challenge'),
    );

    $passkey->forceFill(['last_used_at' => now()])->save();

    auth()->login($passkey->user, remember: true);

    $request->session()->regenerate();

    return response()->json(['authenticated' => true]);
}
One front-end detail worth shipping on day one: conditional UI. Adding autocomplete="username webauthn" to your email input lets the browser surface saved passkeys in the same autofill dropdown users already trust. Adoption rates are meaningfully better when the passkey appears where the password used to, instead of behind a separate button nobody clicks.
Device Management UI
Every passkey deployment needs a management screen, and it's where product decisions hide. Ours went through three revisions. The essentials:
List each passkey with its user-chosen name, creation date, and
last_used_at. Users forget which device is which; the timestamp is what makes deletion feel safe.Allow renaming. "iCloud Keychain" means nothing to someone with three Apple devices.
Guard deletion. If a user has gone passwordless, refuse to delete their final passkey until another one exists or a password is set. This one check prevents a whole category of lockout tickets.
Require a fresh authentication (password confirm or recent passkey assertion) before adding or removing credentials. Session hijacking shouldn't be enough to plant an attacker's passkey.
Why Is the Relying Party ID a One-Way Door?
The relying party ID is the domain your credentials are welded to, and it's the single most consequential configuration value in this entire feature. Every passkey your users register is scoped to it, permanently. Get it wrong and there is no migration script, because the private keys live on devices you don't control.
The scoping rules come straight from the spec (W3C WebAuthn Level 2). The RP ID must be the origin's registrable domain or a suffix of it. In practice:
RP ID
example.comworks forexample.com,app.example.com, andstaging.example.com.RP ID
app.example.comworks only onapp.example.com. Credentials registered there are invisible toexample.comand to any sibling subdomain.RP ID
example.comwill never work fromexample.net, no matter what you do.
Our advice: set the RP ID to your apex domain unless you have a concrete reason not to, such as genuinely independent products on separate subdomains. The apex gives you room to move the app between subdomains later without stranding credentials.
The scenario that actually burns people is the rebrand. If you launch passkeys on oldname.com and later move to newname.com, every passkey dies at the moment of cutover. Not "needs re-sync". Dead. Your migration plan becomes "keep the old domain serving auth indefinitely" or "force every user through re-enrollment", and both are miserable. If a domain change is even a remote possibility, delay the passkey launch until the domain is settled.
There's a quieter version of the same trap that we see on our own platform. Deploynix gives every new site a vanity subdomain (yourapp.deploynix.cloud) so you can deploy before DNS is sorted. That's great for smoke-testing, but if you enable passkey registration while users are hitting the vanity domain and then move to your real custom domain, those credentials are scoped to deploynix.cloud infrastructure and won't follow you. Treat the vanity domain as pre-production for anything WebAuthn-related, and only open passkey enrollment once traffic is on the final domain.
One more nuance: your staging environment on staging.example.com with RP ID example.com will happily accept production passkeys, because the RP ID matches. If you want staging credentials isolated (you usually do), set staging's RP ID to the full staging hostname in that environment's config.
Why Do You Need Real HTTPS Everywhere, Including Staging?
WebAuthn only exists in secure contexts. Browsers do not expose navigator.credentials over plain HTTP; the API is simply absent, per the spec's secure-context requirement (W3C WebAuthn Level 2). The single exception is localhost, which browsers treat as secure for development. There is no flag, header, or workaround for a real hostname served over HTTP.
This has a consequence teams keep rediscovering the hard way: you cannot credibly test passkeys on an HTTP staging server. Self-signed certificates are nearly as bad. Some browsers refuse WebAuthn entirely behind certificate warnings, others behave inconsistently, and either way your QA pass is exercising code paths your users will never hit. If staging doesn't have a real certificate on a real domain, your passkey testing is fiction.
So the infrastructure prerequisite list is short but strict: valid TLS on production, valid TLS on staging, and valid TLS on any preview environment where someone might click "Add a passkey". If your certificate story is shaky anywhere in that chain, fix it before writing a line of ceremony code. Our production security checklist puts HTTPS at the top for exactly this class of reason: modern browser APIs increasingly refuse to function without it.
How This Works on Deploynix
We built our SSL handling around the assumption that every environment deserves a real certificate, and passkeys are the feature that turns that from nice-to-have into hard requirement.
Every site you add gets a free Let's Encrypt certificate provisioned and auto-renewed, staging subdomains included. Because staging runs on a real subdomain with a real cert, the WebAuthn ceremonies behave exactly as they will in production, including the RP ID scoping behavior described above. Wildcard certificates cover multi-subdomain setups, and the details (issuance, renewal, wildcard DNS validation) are in our complete guide to SSL certificates on Deploynix.
Preview environments matter more than you'd expect here. Auth changes are exactly the kind of PR you want reviewed on a live URL rather than in screenshots, and because preview environments for pull requests come up with valid HTTPS, a reviewer can register a real passkey against the preview build from their own laptop before the merge.
Two more pieces of the platform earn their keep during a rollout. Zero-downtime deploys with one-click rollback mean an auth regression is a rollback away instead of an incident, which lowers the stakes of shipping the enrollment prompts iteratively. And server monitoring with alerts gives you a place to watch error rates on the ceremony endpoints as each rollout phase widens. None of this is passkey-specific machinery; it's the same baseline we'd recommend for any change to your login path, alongside the hardening in securing your Laravel deployment.
How Do You Test WebAuthn Without a Fingerprint Reader?
You don't need a drawer of YubiKeys or a CI runner with Face ID. Browsers ship virtual authenticators precisely for this.
For manual testing, Chrome DevTools has a WebAuthn panel (More tools, then WebAuthn) where you can add a virtual authenticator, choose its transport and whether it supports resident keys and user verification, then run your registration and login flows against it. Registered credentials appear in the panel, which makes it easy to verify what your server actually stored.
For automated coverage, Playwright can drive the same machinery over the Chrome DevTools Protocol:
// tests/e2e/passkey-login.spec.js

const client = await page.context().newCDPSession(page);
await client.send('WebAuthn.enable');

const { authenticatorId } = await client.send('WebAuthn.addVirtualAuthenticator', {
    options: {
        protocol: 'ctap2',
        transport: 'internal',
        hasResidentKey: true,
        hasUserVerification: true,
        isUserVerified: true,
    },
});
With that in place, navigator.credentials.create() and .get() resolve automatically in the test run, no human finger required. We run a small suite like this against preview environments before auth-related merges.
On the PHP side, keep your Pest feature tests focused on what the server owns: challenge issuance and expiry, session challenge consumption (a challenge must not verify twice), the deletion guard on a user's last credential, and the re-authentication requirement on the management endpoints. Use model factories for Passkey records and treat the cryptographic verification itself as a boundary you exercise through the browser-level tests. Trying to hand-forge attestation objects in PHPUnit is effort better spent elsewhere.
One habit worth adopting: test at least once on a real device per platform family before each rollout phase. Virtual authenticators validate your protocol flow, but they won't catch a confusing iCloud Keychain prompt or a Windows Hello dialog that appears behind the browser window. The last-mile UX lives outside your code.
What Does a Sane Rollout Plan Look Like?
The technology is the easy half. The rollout is where passkey projects succeed or quietly stall. The plan that has worked, for us and for most teams we've talked to, is three phases with explicit gates between them. The unifying rule: passwords remain a working fallback until the data says otherwise, and "day one" is never the day you remove them.
Phase 1: Opt-In for People Who Ask
Ship passkey registration in account settings behind a feature flag, announce it in a changelog, and say nothing else. Your early adopters (the users who already use password managers and hardware keys) will find it, exercise your edge cases, and file better bug reports than QA ever will.
What to watch during this phase: ceremony completion rate (started registrations vs. stored credentials), errors by browser and platform, and whether anyone hits the last-credential deletion guard. A completion rate below roughly 90 percent usually means a UX problem, not a protocol one; hunt for it before widening the audience.
Phase 2: Prompt After Successful Login
Once the flow is boring, start prompting: immediately after a successful password login, offer "Add a passkey to skip your password next time". This moment converts far better than a settings page ever will, because the user has just experienced the friction you're removing and has already proven their identity, so enrollment is safe.
Cap the prompt. Ask at most once every few weeks per user, and honor a "don't ask again" choice permanently. An authentication feature that nags becomes an authentication feature users resent.
Expect the support load to shift rather than spike. Password-reset tickets start declining; in their place come "what is a passkey" questions and a steady trickle of "it's asking for my fingerprint and I don't want that" concerns. Write the help-center article before Phase 2, not after. Two paragraphs explaining that the biometric never leaves the device prevents most of these tickets.
Phase 3: Default for New Signups
When your existing-user metrics are healthy, make passkey creation the default path on registration, with password creation demoted to a secondary link. New users have no habit to unlearn, so this is where adoption compounds.
Even here, keep the password path alive. Locked-down corporate devices, shared machines, and unsupported browsers all still exist. The end state for most apps isn't "no passwords"; it's "passwords are the rarely used fallback, monitored accordingly". Going fully passwordless is a Phase 4 that most teams, honestly, never need to reach, and it should wait until password logins are a rounding error in your metrics.
Throughout all three phases, watch your login funnel the way you'd watch a checkout funnel: passkey login success rate, fallback-to-password rate, and time-to-authenticate. A rising fallback rate on one platform is your early warning that an OS update changed a prompt somewhere.
How Should You Handle Account Recovery?
Here's the uncomfortable truth: account recovery is the actual hard problem, and passkeys make it harder before they make it easier. With passwords, "I forgot" resolves through an email reset. With a lost device holding an unsynced passkey, there's nothing to reset. The private key is gone.
Synced passkeys soften this considerably. A user whose iPhone falls in a lake restores iCloud Keychain on the replacement phone and their passkeys come back. But hardware keys don't sync, some users disable sync, and platform account recovery becomes your problem by proxy. Design for the worst case:
Encourage a second passkey at enrollment. After a user registers their first credential, prompt for one more on a different device. Two independent authenticators eliminate most lockout scenarios outright.
Issue recovery codes, exactly as you would for TOTP. One-time-use, hashed at rest, shown once. Boring and proven.
Decide what email reset means now. If password reset via email still exists, your account security equals your users' mailbox security, same as before passkeys. That's an acceptable, honest trade-off during transition; just make the decision explicitly rather than by default, and rate-limit and alert on the reset path.
Write the support playbook before launch. When someone fails all automated recovery, what does your team verify before restoring access? Recovery-by-support-ticket is the channel attackers target once the front door hardens; social engineering against help desks is a well-worn playbook. Define the identity checks, log every manual recovery, and review them.
Whatever you choose, the recovery path is now your weakest link, because attackers route around strength. It deserves the same review rigor as the login path itself, and it belongs on the agenda the next time you run a step-by-step security audit of your server and application.
What Are the Honest Downsides?
We're bullish on passkeys, but a few realities deserve plain statement before you commit a quarter to this.
Enterprise-managed devices are the biggest friction. Plenty of corporate laptops run with platform authenticators restricted, browser sync disabled by policy, or hardware keys mandated and everything else blocked. If you sell B2B, assume a meaningful slice of your users cannot enroll a synced passkey, and keep password-plus-TOTP as a fully supported path for them indefinitely. Ask your largest customers' IT teams before Phase 3, not after.
Cross-device sync is a trust trade-off, not a free lunch. A synced passkey is as secure as the Apple or Google account it syncs through. For most consumers that account is far better protected than their password habits, so it's a clear net win. But some security teams reasonably dislike delegating part of the trust chain to a platform vendor, and for high-security contexts, device-bound credentials on hardware keys remain the stricter answer. Know which posture your product needs.
There's also the long tail: shared family tablets, kiosk machines, users on old browsers, and people who are simply uncomfortable with a fingerprint prompt regardless of where the biometric is processed. In 2026 browser support is excellent, but "excellent" isn't "universal", and your login form has to serve everyone. That's the real reason every rollout phase above keeps a fallback: not caution for its own sake, but because the edge cases are people.
None of these are reasons to skip passkeys. They're reasons the rollout is phased, the password path survives, and the metrics get watched.
FAQ
Do passkeys replace two-factor authentication?
Functionally, a passkey with user verification is already two factors in one gesture: possession of the device plus the biometric or PIN that opens it. Most teams treat passkey login as satisfying their MFA requirement. If a compliance framework you're subject to names OTP specifically, check with your auditor before dropping TOTP.
What happens when a user loses their phone?
If the passkey was synced through iCloud Keychain or Google Password Manager, it restores with the platform account on the new device. If it was device-bound, that credential is gone, which is why you should encourage a second passkey at enrollment and issue recovery codes. Recovery design, not the protocol, determines how painful this day is.
Can I test passkeys in local development without HTTPS?
Yes, on localhost only, which browsers treat as a secure context. Any other hostname, including .test domains and LAN IPs, requires valid HTTPS or the WebAuthn API won't exist on the page. For staging and preview environments, use real certificates on real domains.
Will passkeys registered on staging work in production?
Only if the relying party IDs align, and usually you don't want them to. Set staging's RP ID to the full staging hostname so its credentials stay isolated, and set production's RP ID to your apex domain. And remember the reverse trap: if production's RP ID is the apex, production passkeys will work on staging subdomains too.
Should we remove passwords once passkey adoption is high?
Not on any schedule you set in advance. Let the metrics decide: when password logins are a fraction of a percent and your recovery flow has survived real-world contact, going passwordless becomes a small step instead of a leap. Most apps run hybrid indefinitely, and that's a fine end state.
Where to Start This Week
Passkeys are the rare security upgrade that improves the user experience while removing an entire attack class. The Laravel 13 support takes care of the cryptography; your job is the operational judgment around it. Pick your relying party ID like it's permanent, because it is. Give staging a real certificate so your testing means something. Roll out in phases with passwords intact. And spend your design effort on recovery, because that's where the hard failures live.
The concrete next step: get a staging environment on a real subdomain with valid HTTPS, wire up the registration ceremony behind a feature flag, and run the flow end to end with a Chrome virtual authenticator and then with your own thumb. Once that loop feels boring, you're ready for Phase 1. On Deploynix, the staging cert is already handled the moment you add the site, so the infrastructure part of that list takes about as long as reading this sentence.